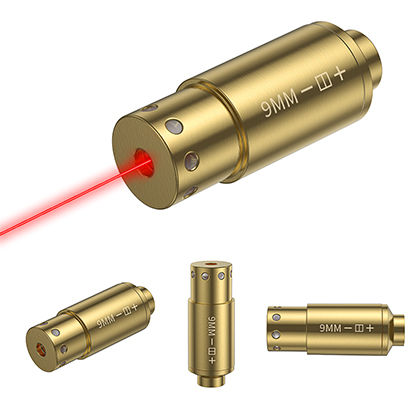
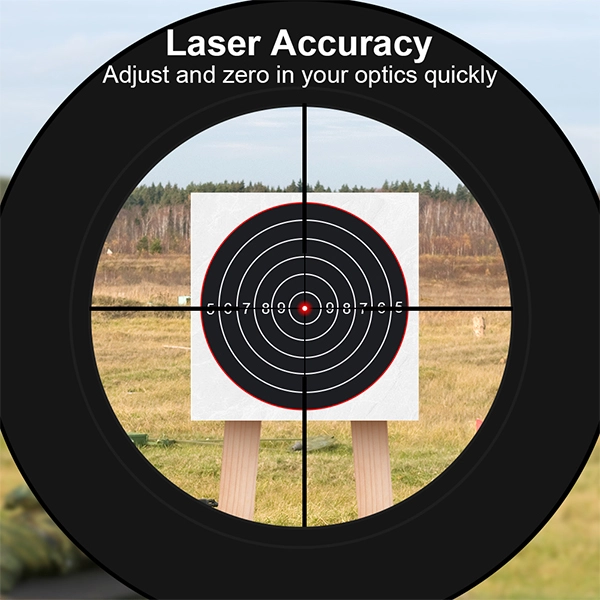
Imagine you’re in a high-pressure shooting scenario where every second counts. Precision is everything, and your equipment must work perfectly. This is where zeroing your laser sight becomes critical. Whether you’re preparing for a tactical mission, heading out on a hunting trip, or training at the shooting range, a properly zeroed laser sight can dramatically improve your accuracy and speed.
In this guide, we’ll break down what zeroing means, why it matters, the types of laser sights you might use, and the best methods for zeroing them. By the end, you’ll have a step-by-step process and practical tips to keep your aim sharp and reliable.
Zeroing is the process of aligning your laser sight’s point of aim (POA) with the point of impact (POI) of your bullet at a chosen distance. For example, if you aim at the bullseye and the shot hits 2 inches low, zeroing involves adjusting the laser so the dot aligns with where the bullet actually hits.
Without proper zeroing, even the most advanced laser sight won’t help you hit your target consistently.

Before you start adjusting, it’s worth understanding why zeroing is essential:
Improved Accuracy – A correctly zeroed laser ensures that where you aim is where you hit.
Faster Target Acquisition – Especially in low-light or fast-moving situations, zeroing helps your laser align instantly with your target.
Increased Confidence – When your gear is properly set up, you can focus on your shooting instead of second-guessing your aim.
Knowing your equipment will help you zero it more effectively.
Visible Laser Sights
Emit a red or green beam visible to the naked eye.
Ideal for quick target acquisition in daylight or low light.
Infrared (IR) Laser Sights
Invisible to the naked eye; requires night vision to see.
Common in military or law enforcement applications.
Integrated Red Dot and Laser Combos
Combine a red dot sight with a laser for flexible aiming options.
Require zeroing for both the dot and the laser.
There are two main approaches: Converging Zero and Parallel Zero. Each has advantages depending on your shooting style.
In this method, the bullet’s trajectory intersects with the laser beam at a chosen distance—commonly 25, 50, or 100 yards.
Steps for Converging Zero:
Choose Your Distance – Select the range you expect to shoot most often.
Set Up Your Target – Place it at the chosen distance in a safe shooting environment.
Zero Your Primary Sight First – If you have iron sights or a scope, align them first.
Fire a Test Group – Shoot 3–5 rounds to see where your shots are landing.
Adjust the Laser – Use the windage (left/right) and elevation (up/down) screws to move the laser dot to your bullet impacts.
Confirm – Fire another group to verify alignment.
Pros: Highly accurate at the chosen range.
Cons: Less precise at ranges far from the zero distance.
Here, the laser beam runs parallel to the bore of your firearm, maintaining a consistent offset at all distances.
Steps for Parallel Zero:
Measure Your Offset – For example, if your laser is 1.5 inches above the bore and 1 inch to the right, know these numbers.
Set Up a Target – Use a paper or steel target that shows impacts clearly.
Account for the Offset – Adjust your laser so the dot stays parallel to your bore, not converging at a single point.
Fire and Adjust – Take shots, measure the difference from the dot, and fine-tune until the offset remains consistent.
Recheck – Test at multiple distances to ensure the parallel alignment holds.
Pros: Predictable at multiple distances.
Cons: Requires more mental calculation for exact point of impact.

Zeroing isn’t just about turning screws—it’s about doing it under the right conditions.
Stable Shooting Position – Use a rest or bipod for minimal movement.
Consistent Ammunition – Use the same ammo you’ll use in real scenarios; bullet drop can vary by load.
Environmental Awareness – Wind, temperature, and humidity can all affect bullet trajectory.
Safe Backstop – Always ensure there’s a safe and solid backstop behind your target.
Zeroing isn’t a “set it and forget it” task. Over time, handling, transport, and environmental changes can shift your alignment.
Routine Checks – Verify your zero before competitions, hunts, or training days.
Train in Realistic Conditions – Practice zeroing and shooting in the lighting and environments you expect to face.
Record Your Settings – Keep notes on your zero distances and offsets for quick re-adjustment.
Zeroing a laser sight is one of the most valuable skills for improving your accuracy, speed, and confidence as a shooter. Whether you choose the Converging Zero for pinpoint accuracy at a specific distance or the Parallel Zero for predictable performance at multiple ranges, the key is to practice regularly and make adjustments when necessary.
A well-zeroed laser sight turns technology into an extension of your skill—helping you hit your target when it matters most.
A: Common choices are 25, 50, or 100 yards, depending on your shooting environment and firearm type.
A: Check it regularly, especially after travel, rough handling, or changing attachments.
A: Yes, but ensure you have a safe backstop and can maintain a consistent shooting distance.